How it works
From route file to embedded map.
Five steps, all in your browser. The flyover, the satellite terrain and the elevation profile are ready the moment your route is in.
01
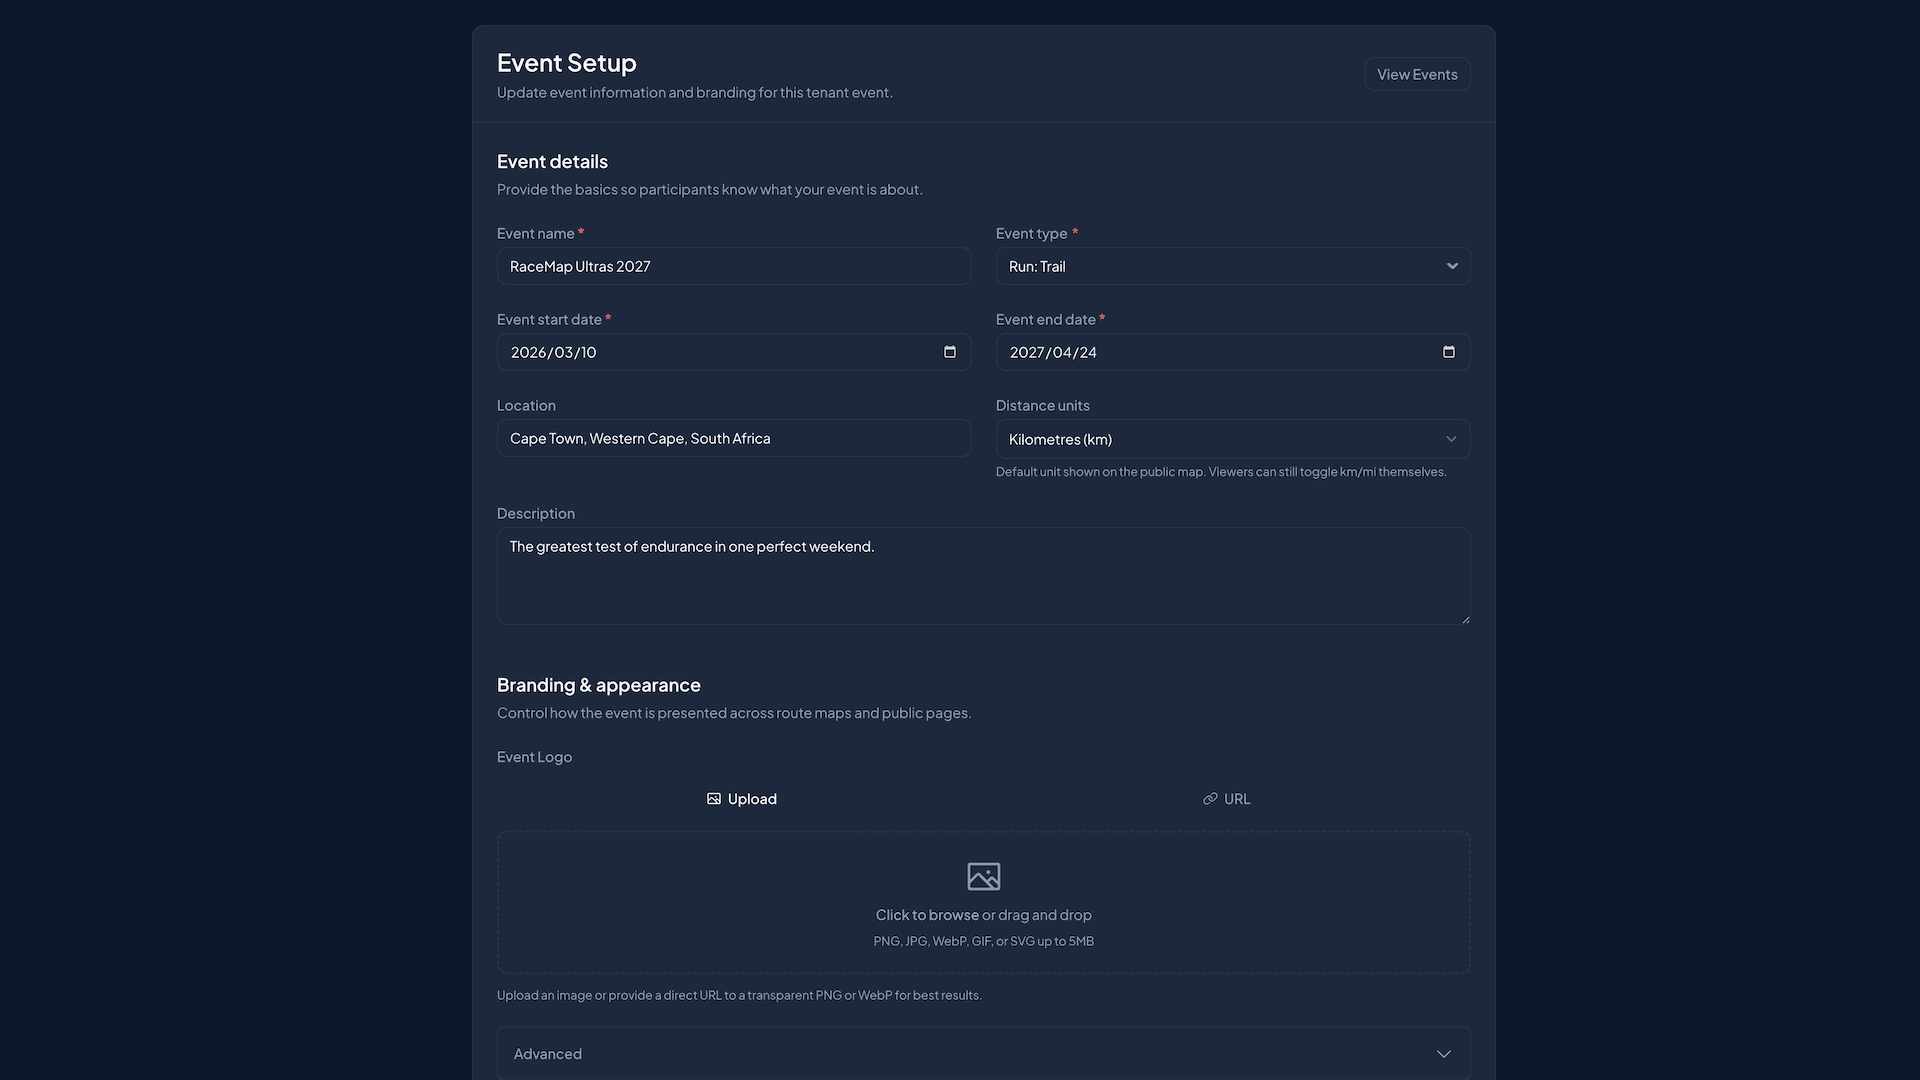
Start an event
Name it, set the dates and location, and pick your brand colours. Every route, waypoint and sponsor for the race lives here.
02
Add your route
Drag in a GPX, KML, GeoJSON or JSON file. Distance, elevation, start and finish come from the file. Swap the file later and your waypoints are matched to the new route.
03
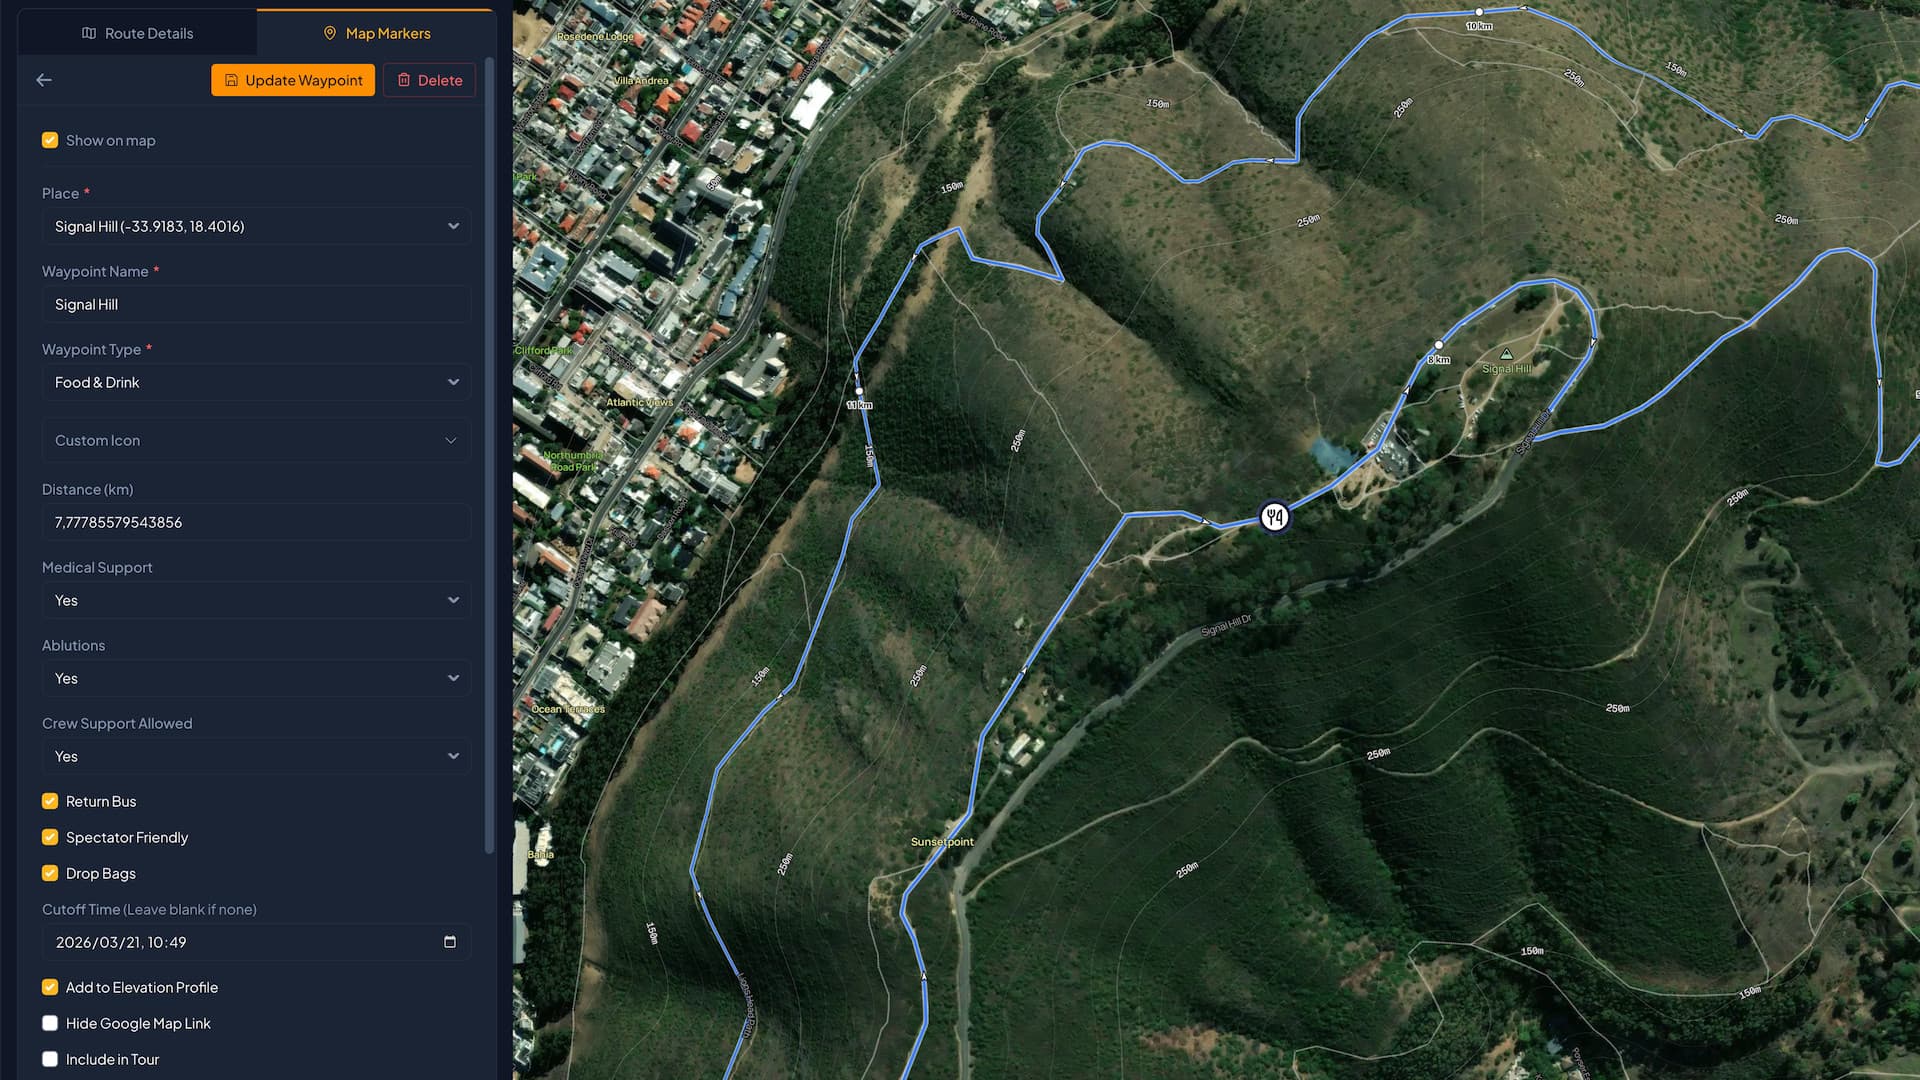
Make it yours
Set the line colour and the opening camera. Add aid stations, medical, parking, cut-offs and spectator points, with notes, photos or video. Place your sponsors on the course.
04
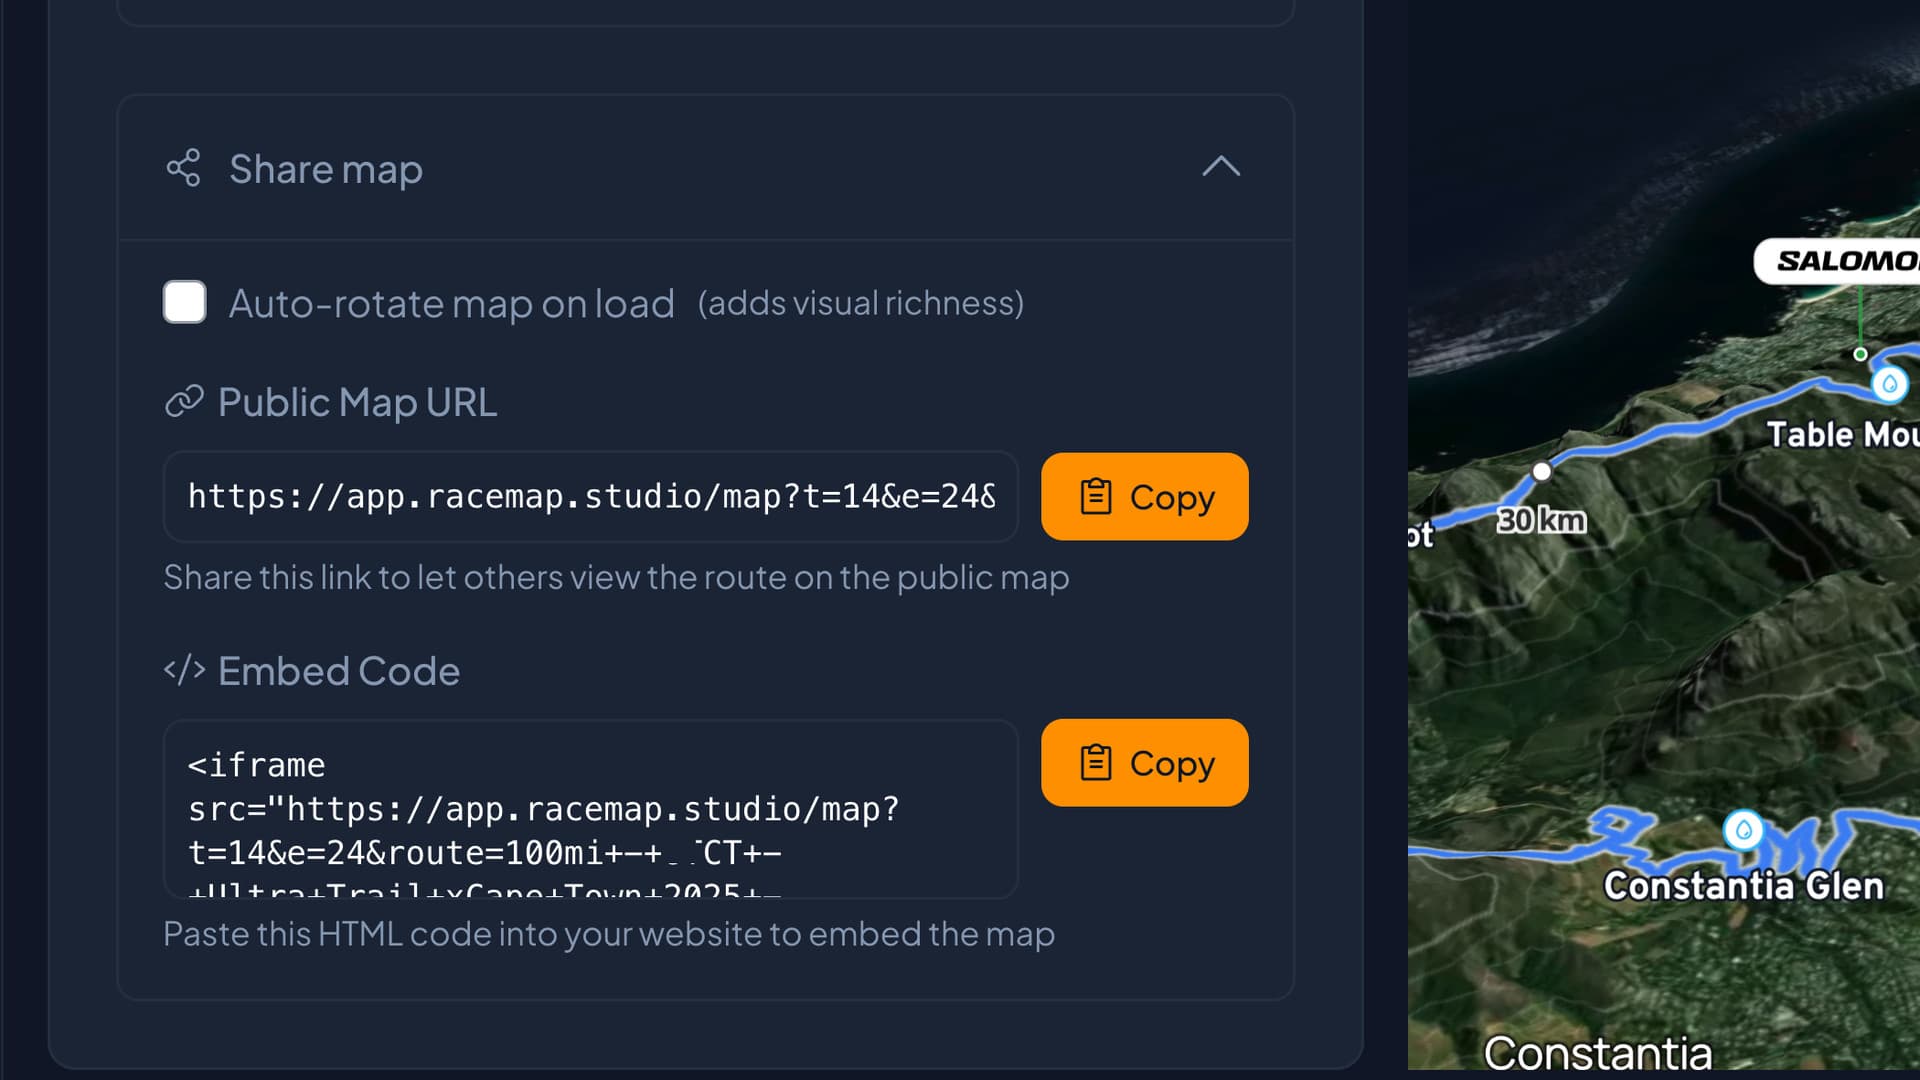
Embed it
Copy one line of code and paste it into your course page, the same way you would add a YouTube video. The map works at any width and on phones. Change it any time and the page updates.
05
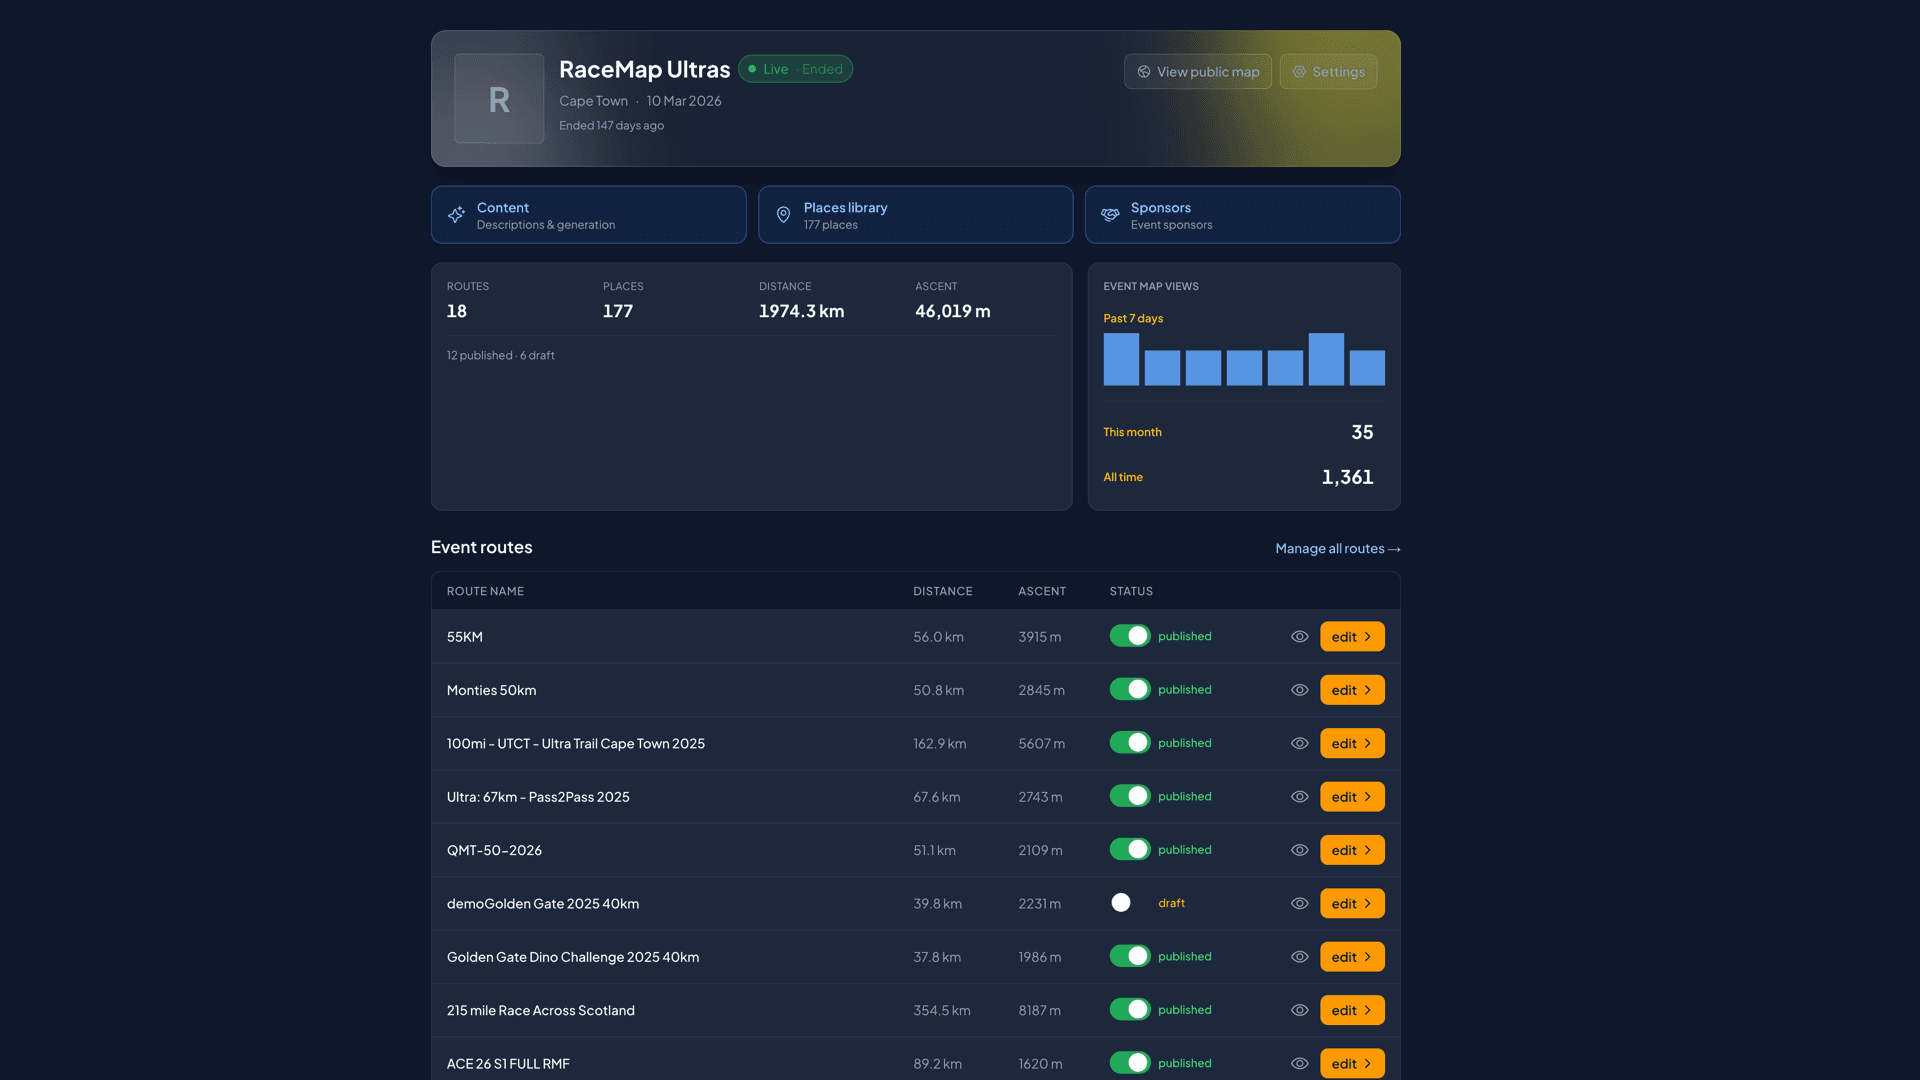
Run the event from one dashboard
Every route in the event sits in one list with its distance, ascent and a publish switch. Your places and sponsors are shared across all of them. You can see how many people opened your map.
What you can add along the way.
Every one of these is in every plan. See every feature.
Aid stations and race-day info
Aid stations, medical, parking, cut-offs and spectator points, each with amenities, notes, photos and video.
Sponsor placements
Branded markers that open into a YouTube video and a call to action, and sponsored segments on the route and the elevation profile. Reuse a sponsor across every route in the event.
Guided tour mode
Order your stops and set the 3D camera for each. Present it at your route launch, or leave it looping on a screen in the race village.
AI route descriptions
Generated from your course data. Edit it, then use it on your entry page.